Friday, 15 July 2011

Tutorial 3 & 4 - Retouching and Enhancing

It's kinda busy for these few weeks.
However, I will also update what I have learn from Madam Lydia's lesson.
We focus on the usage of retouching and enhancing tools for this week


Now, let's open the psd file of previous work then continue from there.

The first changes that I would like to make is on the "student 1". 
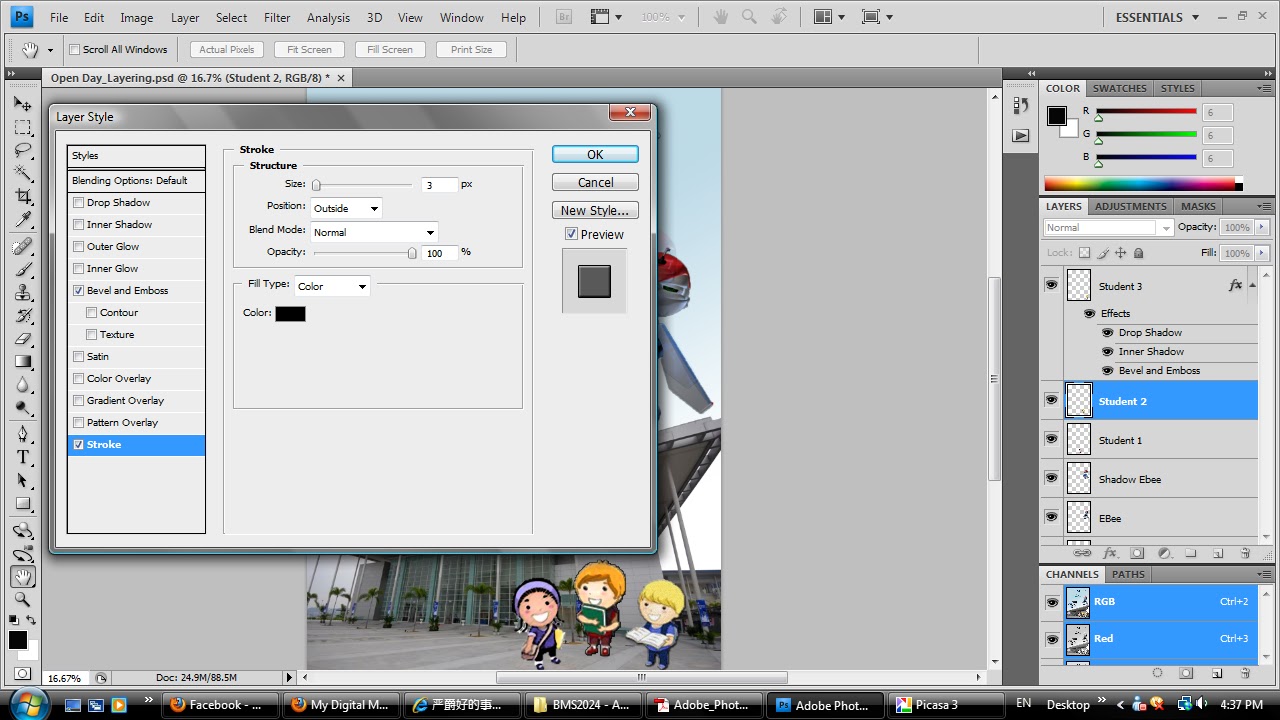
By clicking the thumbnail of "student1", you will get the below dialog box. Explore yourself by checking different blending options.

Press Filter and move the cursor to Brush Strokes, pick the Dark Strokes to get below result.

Repeat the above step but different blending options for "student 2" and "student 3".
Go to "Filter", choose "Patchwork" under "Texture".


Apply Rough Pastels:

Go to Filter > Render > Lens Flare.


Result:

Again, save the file in jpg and psd format.
Stay tuned for the next lesson.


Sunday, 3 July 2011

Tutorial 2 - Layering Tool

After the first tutorial on selection tool, Madam Lydia taught us on layering in her second tutorial session.

First of all, open a new file by changing the setting to A4 size and International page.

Suppose it is a blank file. However, I change the background color to blue in order to look more colorful.
You can see from the previous image, I have selected the "Gradient Tool" to make below result.

Then, I open the image that I have saved in Tutorial 1. Drag the MMU logo to the page I have created.

To share what I have learn last week, here shows you how to use layering tool.
Click on the "Layer Style" which located under "Layer", and press "Blending Options".
You can explore yourself by clicking different blend mode.
Drag the MMU Grand Hall and Ebee images.
As you can see here, there are 2 Ebees which I drag the Ebee twice and the second Ebee is being blended using the mode of soft light to make it looks like a shadow.

The 3 little students are also being dragged as well as the open day image.


After that, I use the "Horizontal Type Tool" to type text. To make the text colour looks more stronger, I apply blending mode of "color burn".


In order to complete the e-wallpaper for layering basics, I drag the last raw image which is the hat.

I AM DONE!

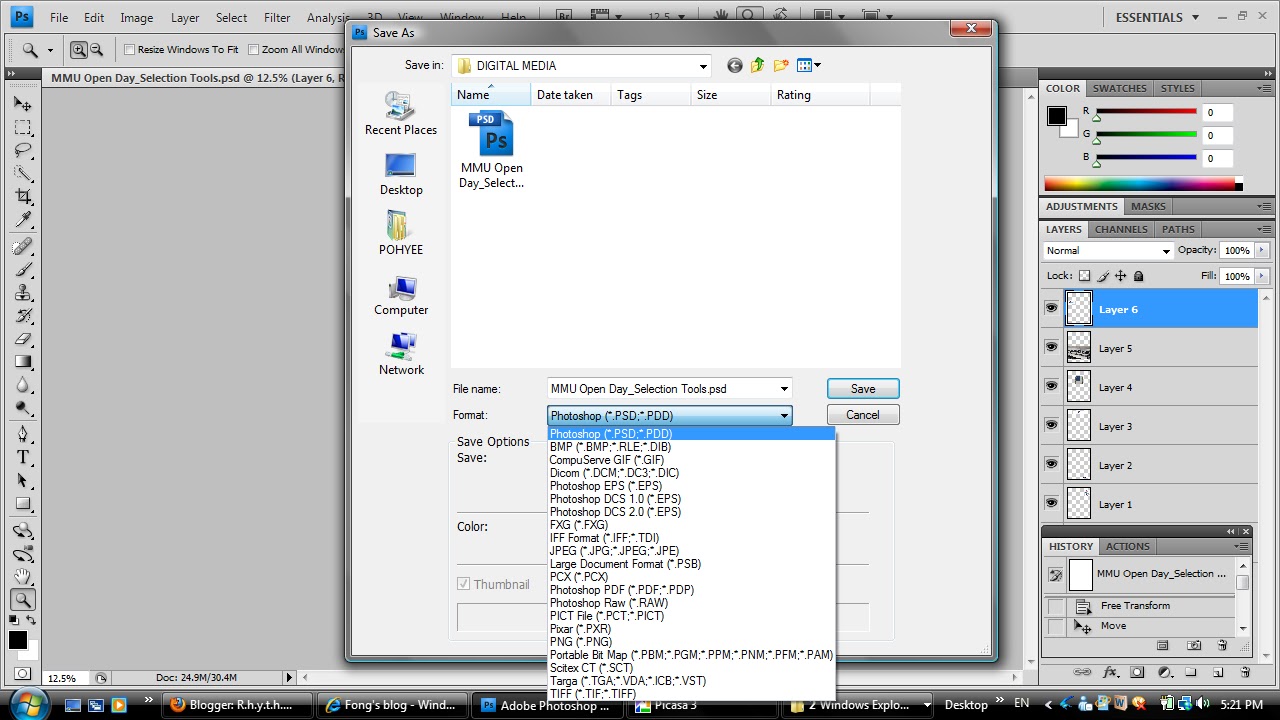
Not to forget to save it onto 2 files which are the psd file and the jpg file.

Have a nice day and that's it for tutorial 2 =)

Friday, 24 June 2011

Tutorial 1 - Selection Tool

We learn how to use selection tool last week.
  At first, I have no idea at all what is that all about. 
Without any basic, I am totally blank.
So, I've got myself to explore Adobe Photoshop.

Let's begin the tutorial for selection tool now!

Step 1: Make a new file.

Step 2: Rename as "Open Day_Selection Tools".
(Because we have to do e-wall for FOM Open Day)

Step 3 & 4: Under "Preset", choose International Paper and pick A4 size.


Step 5: The outcome of the above steps - A blank A4 size paper.

The 6 raw images that I have found.


Step 6: Open the raw images that being found.
Click "Quick Selection Tool", and click on the area you want to remove.
Then, press "Delete".


Step 7: Use "Move Tool" to drag the image to the blank A4 paper.
You can resize it by clicking CTRL+T (Free Transform), then you will see boxes surrounding the image.
Then, press SHIFT to enlarge or make the image smaller.
Step 8: Apply "Step 7" to the rest raw materials.


Here's the result!

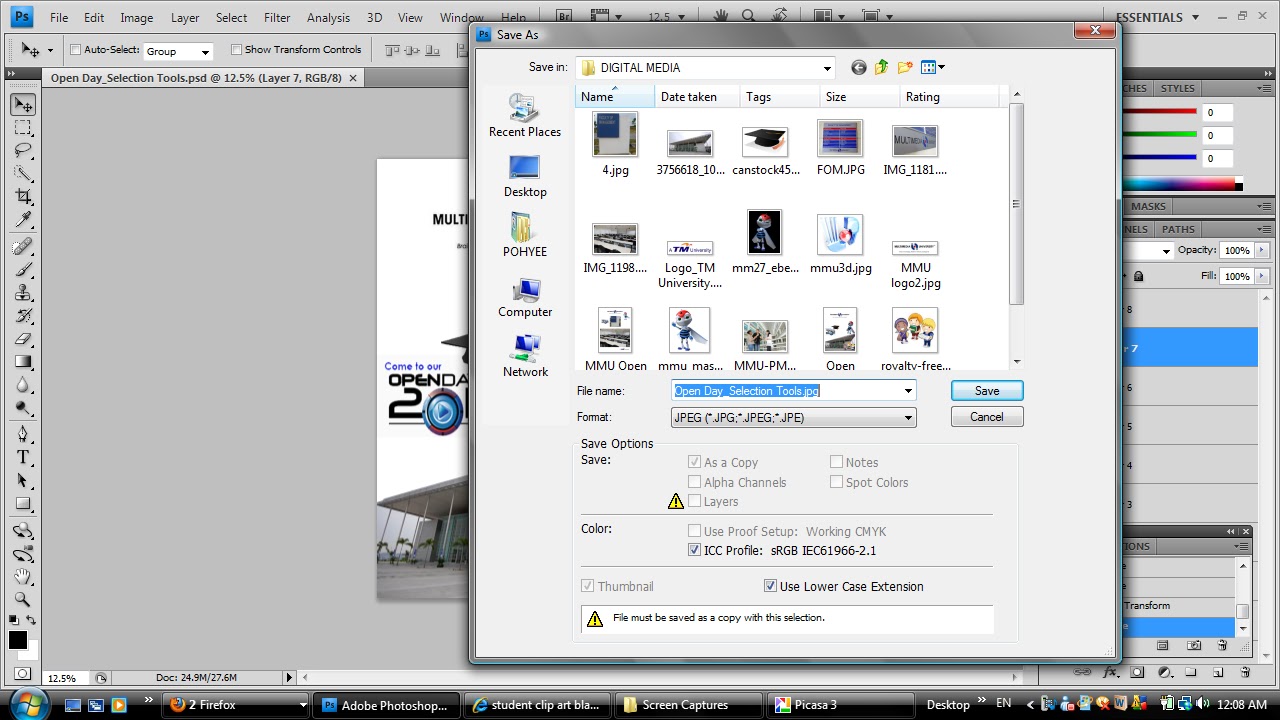
Then save it in jpg file and also psd file.

Below is the jpg file I have saved.