
We learn how to use selection tool last week.
At first, I have no idea at all what is that all about.
Without any basic, I am totally blank.
So, I've got myself to explore Adobe Photoshop.
Let's begin the tutorial for selection tool now!
Let's begin the tutorial for selection tool now!
Step 1: Make a new file.

Step 2: Rename as "Open Day_Selection Tools".
(Because we have to do e-wall for FOM Open Day)

Step 3 & 4: Under "Preset", choose International Paper and pick A4 size.


Step 5: The outcome of the above steps - A blank A4 size paper.

The 6 raw images that I have found.


Step 6: Open the raw images that being found.
Click "Quick Selection Tool", and click on the area you want to remove.
Then, press "Delete".


Step 7: Use "Move Tool" to drag the image to the blank A4 paper.
You can resize it by clicking CTRL+T (Free Transform), then you will see boxes surrounding the image.
Then, press SHIFT to enlarge or make the image smaller.

Step 8: Apply "Step 7" to the rest raw materials.


Here's the result!

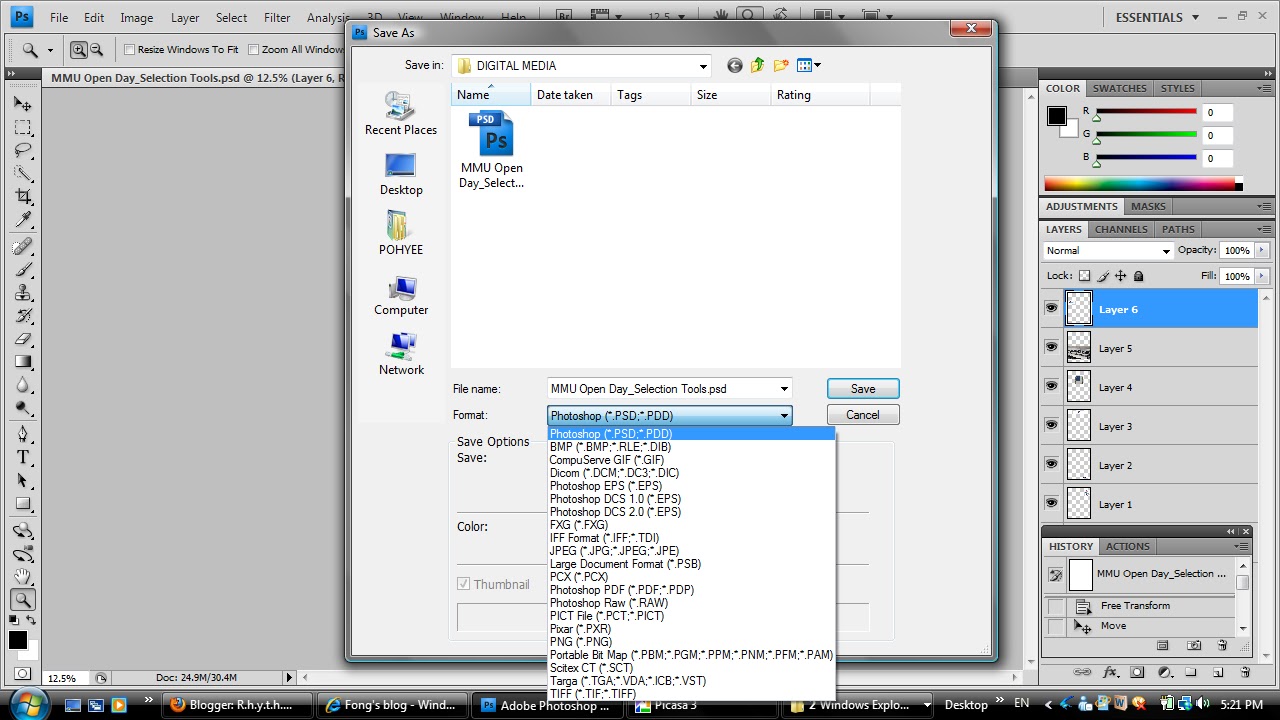
Then save it in jpg file and also psd file.

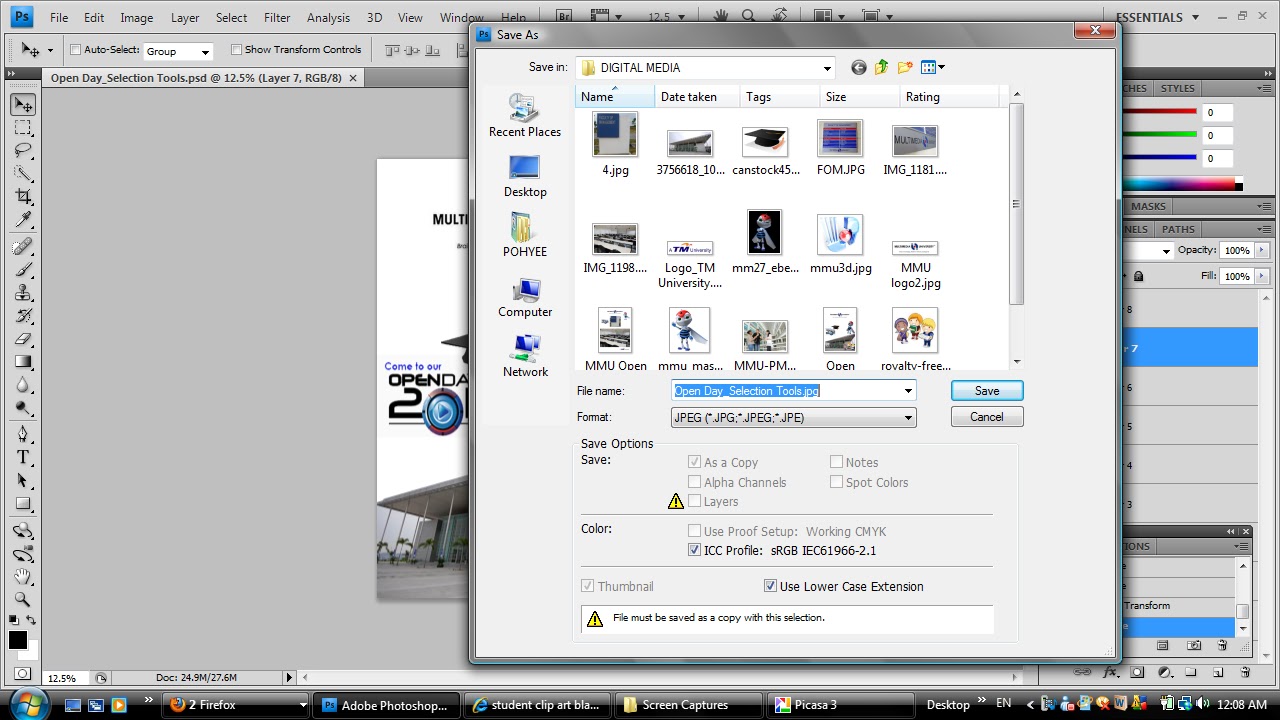
Below is the jpg file I have saved.

